Your brand: logo, colours, typefaces
Your product's name, your logo, your colour and your typefaces, on the whole film at once.
4 steps
- 01
Open “Brand”
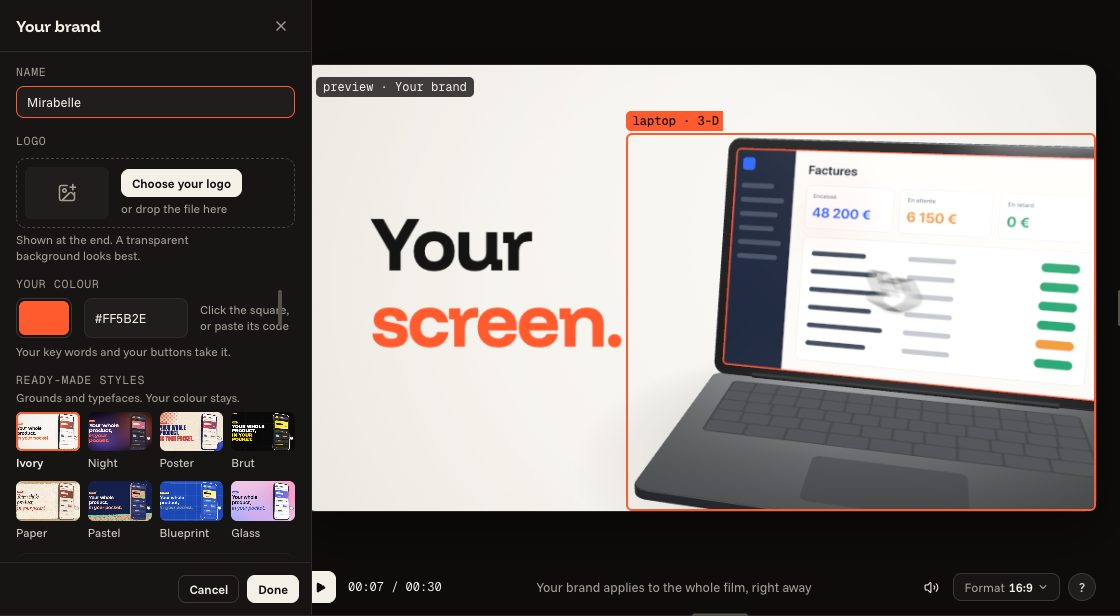
The “Brand” button, at the top of the editor, opens the “Your brand” panel. Write your product's name under “Name”: the scenes that show it take it.
- 02
Your logo and your colour
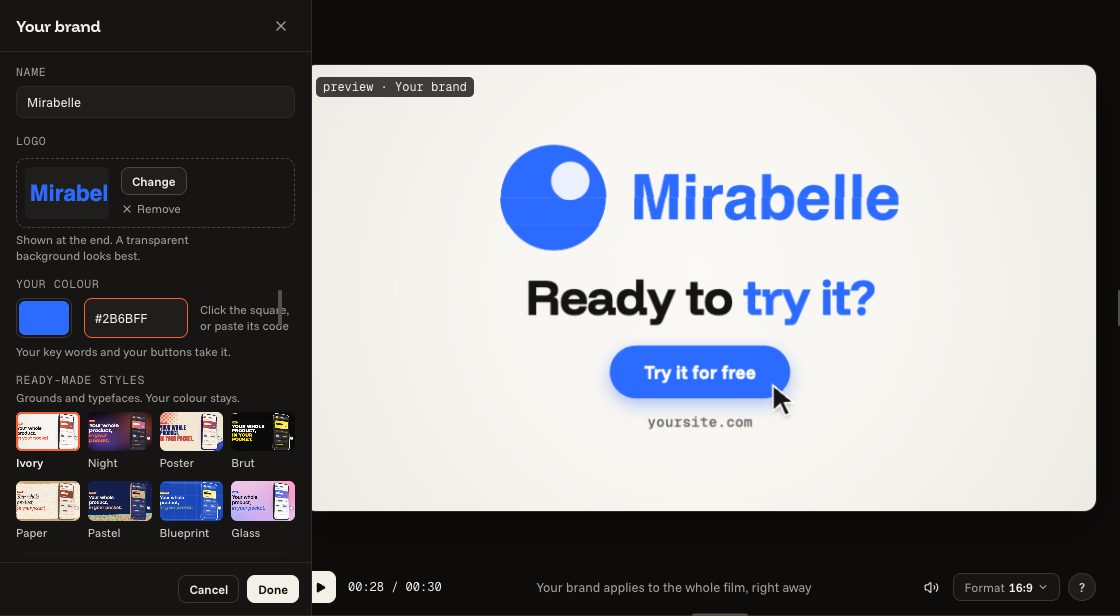
“Choose your logo”, or drop the file: it appears at the end of the film, and a transparent ground looks better. For your colour, click the square or paste its code: your key words and your buttons take it.
- 03
The other colours, the typefaces, the corners
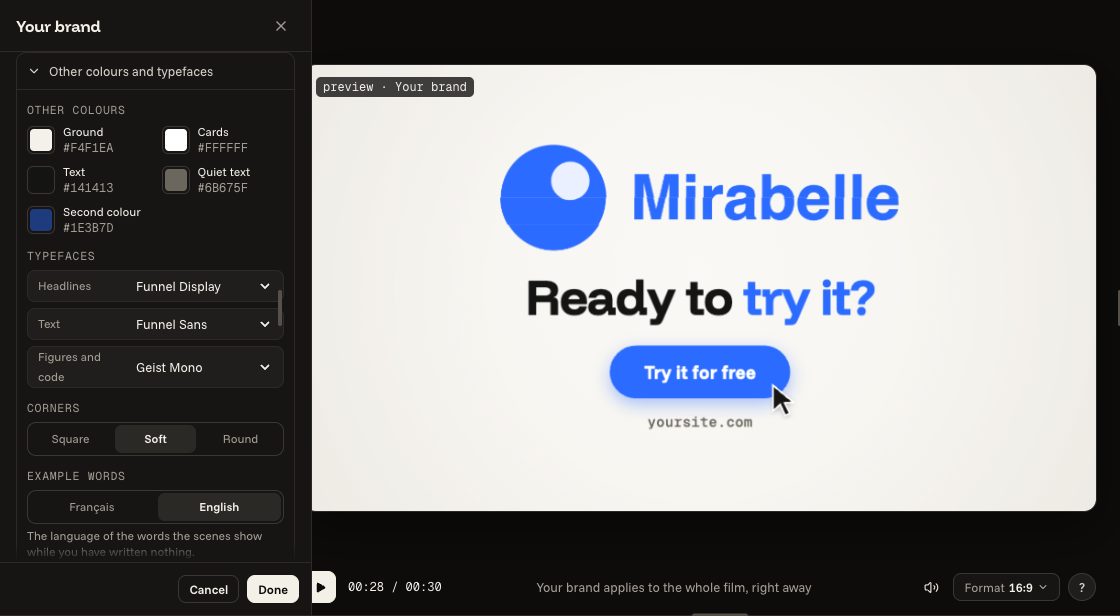
“Other colours and typefaces” unfolds the rest: the colours of the ground, the cards and the text, the typefaces of headlines, texts and figures, the roundness of the corners.
- 04
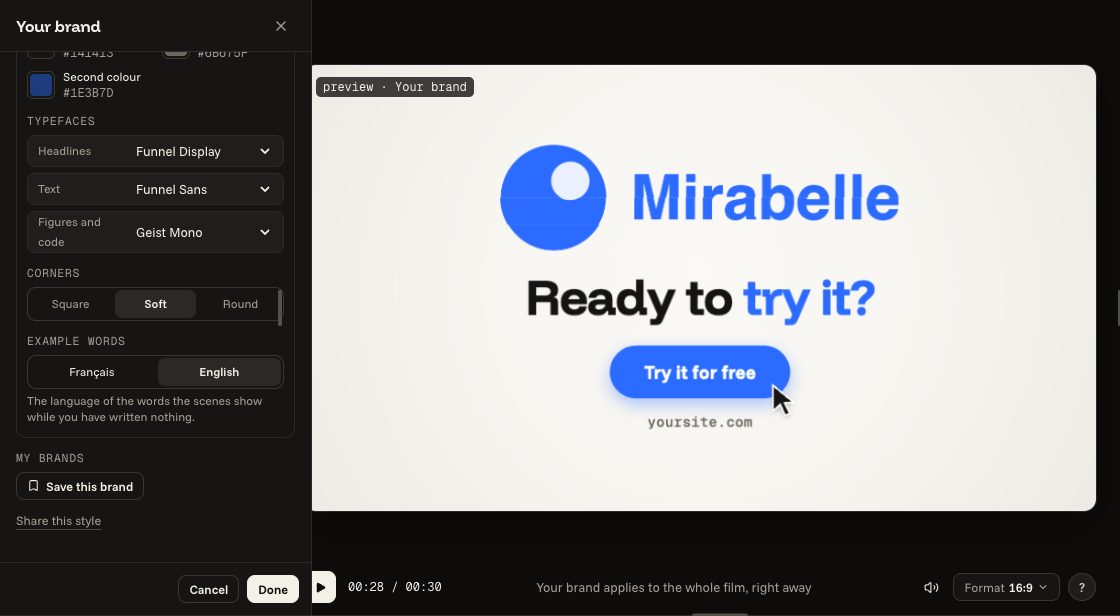
Keep it
“Done” keeps your brand on this film. “Save this brand” puts it in “My brands”, to use it again in another film: 1 on the free plan, 3 with Pro.