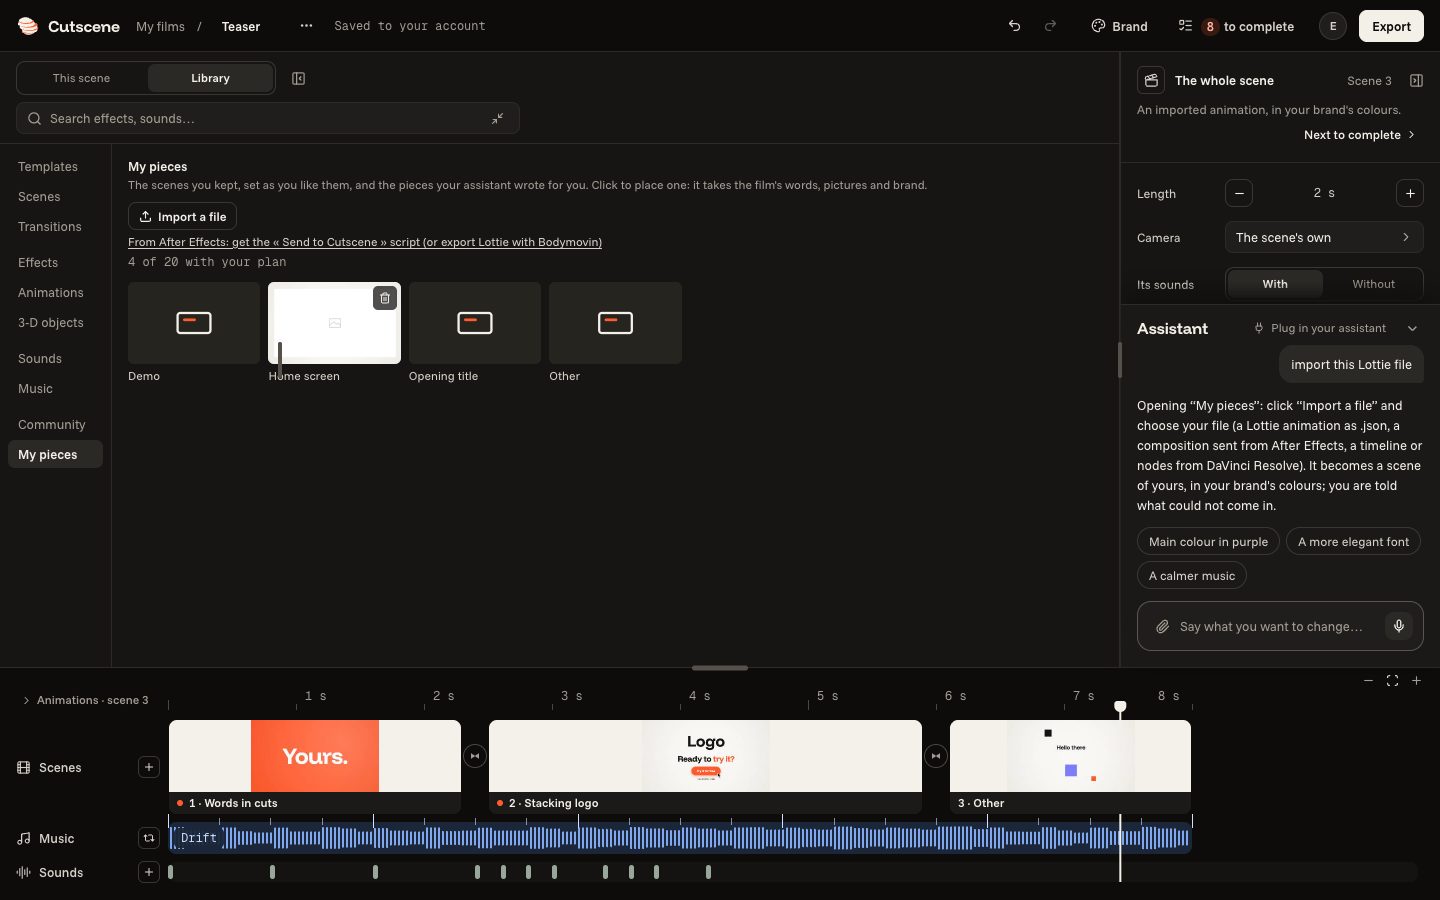
Bring in an animation: Lottie, After Effects, DaVinci Resolve
A file from another program becomes a scene of yours, in your brand's colours.
6 steps
- 01
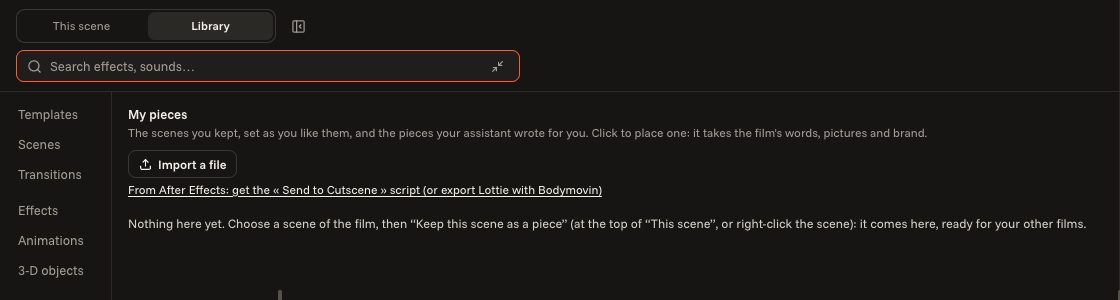
“Import a file” in “My pieces”
In the library, on the left, open “My pieces”, then “Import a file”, or drop the file on that list. It is read here, in your browser, and becomes a scene of yours, kept in “My pieces” like the scenes you keep and counted in what your plan keeps. An imported scene is not shared in the Community for now. Import only a file you have the right to use.
- 02
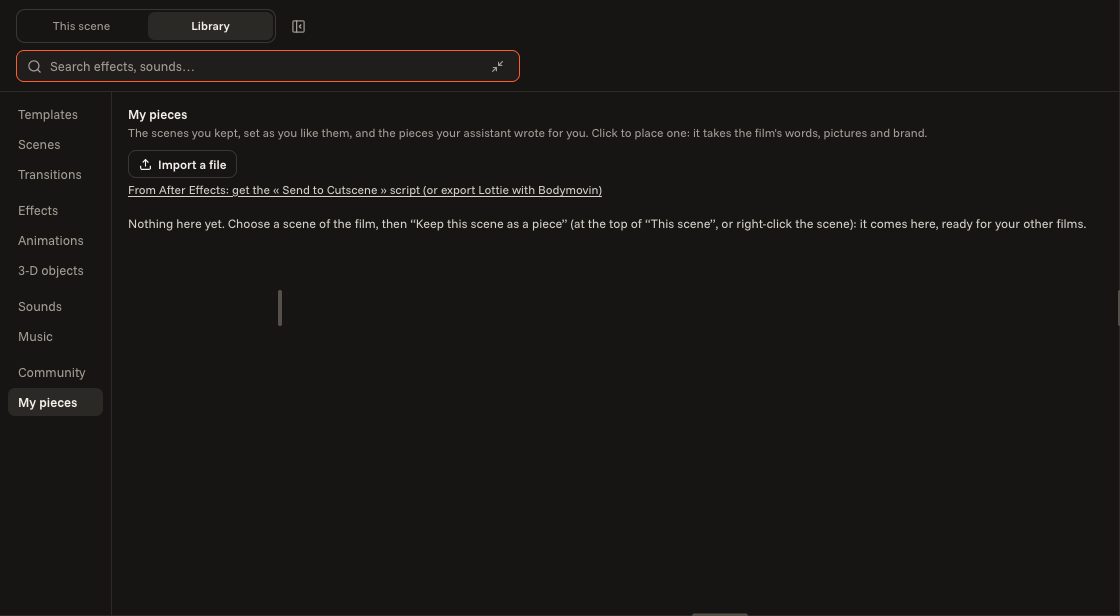
A Lottie animation
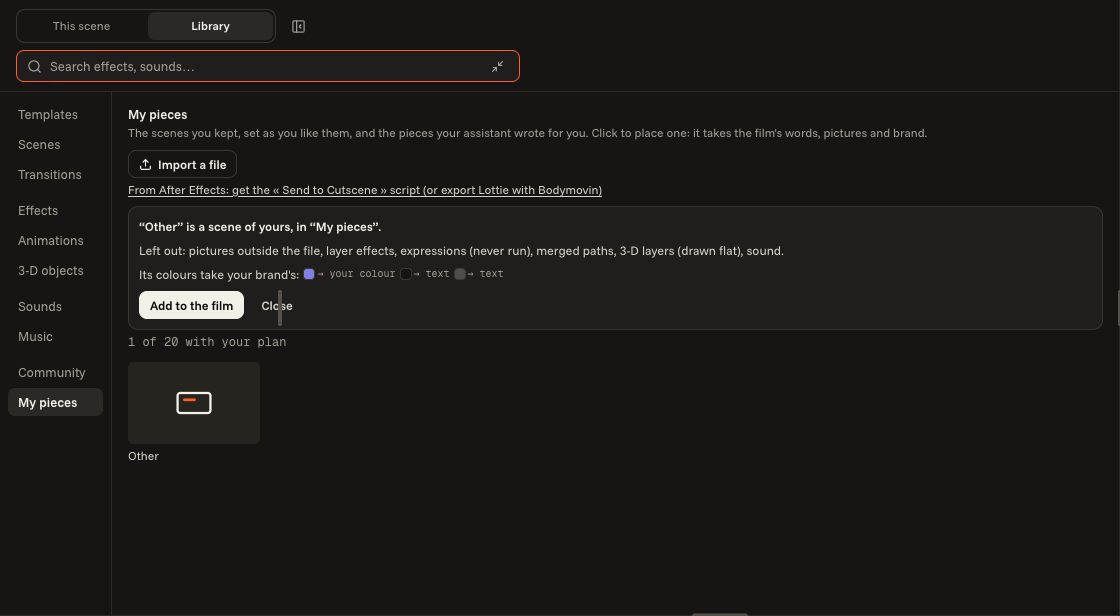
A .json file from Bodymovin or LottieFiles, of 2 MB and 200 layers at most. What plays: shapes and paths, fills, strokes and gradients, masks and mattes, nested compositions, text layers, keyframes with their eases. What is left out, and listed in the answer: expressions (never run), layer effects, 3-D layers, the camera, sound, and a few shape tools (merge paths, offset paths, zig-zag…).
- 03
Your colours, your words
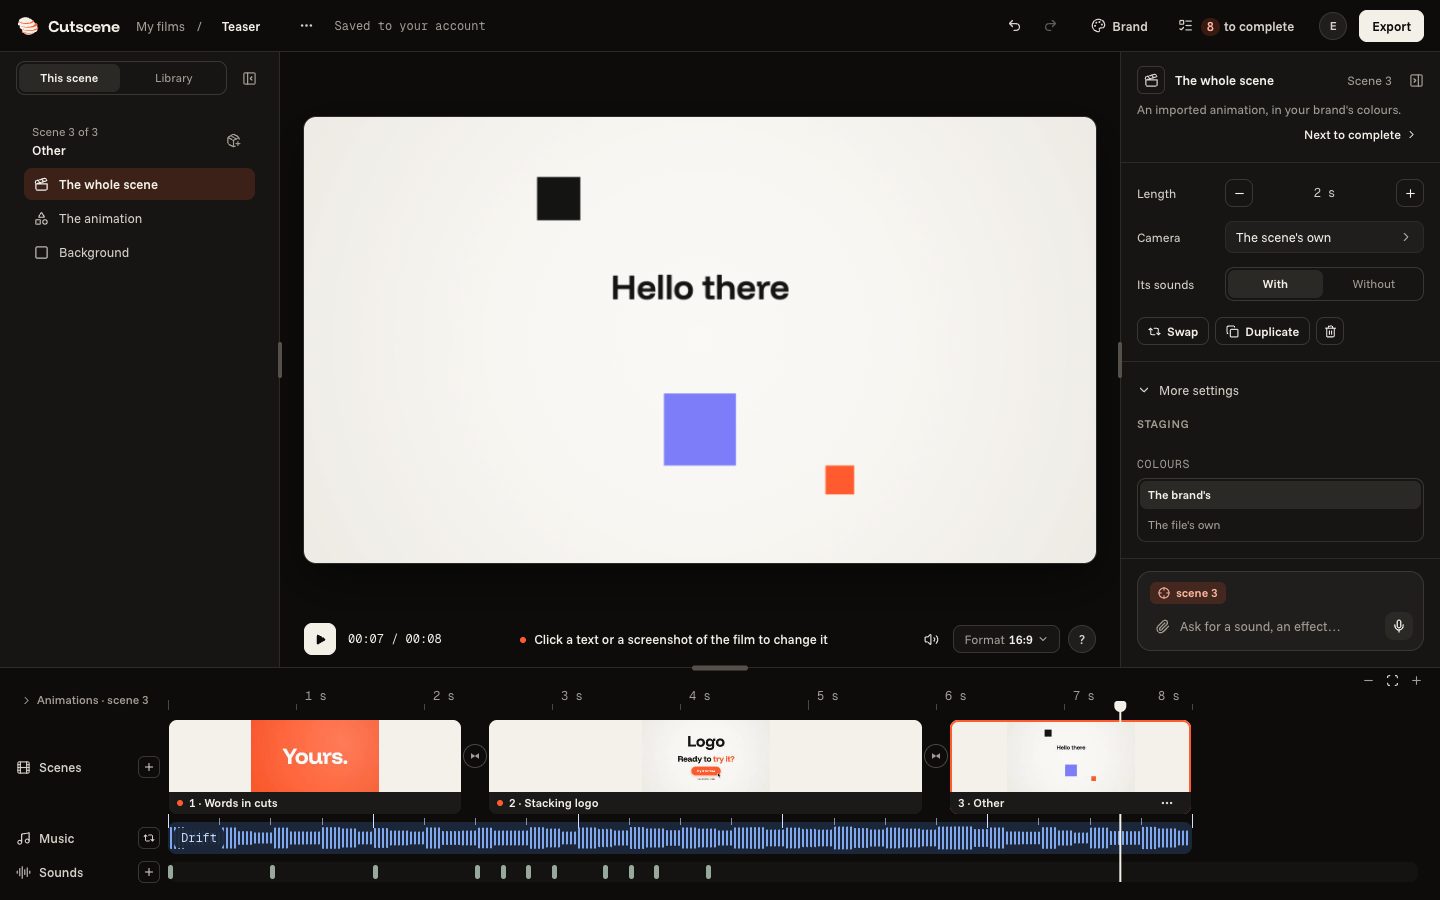
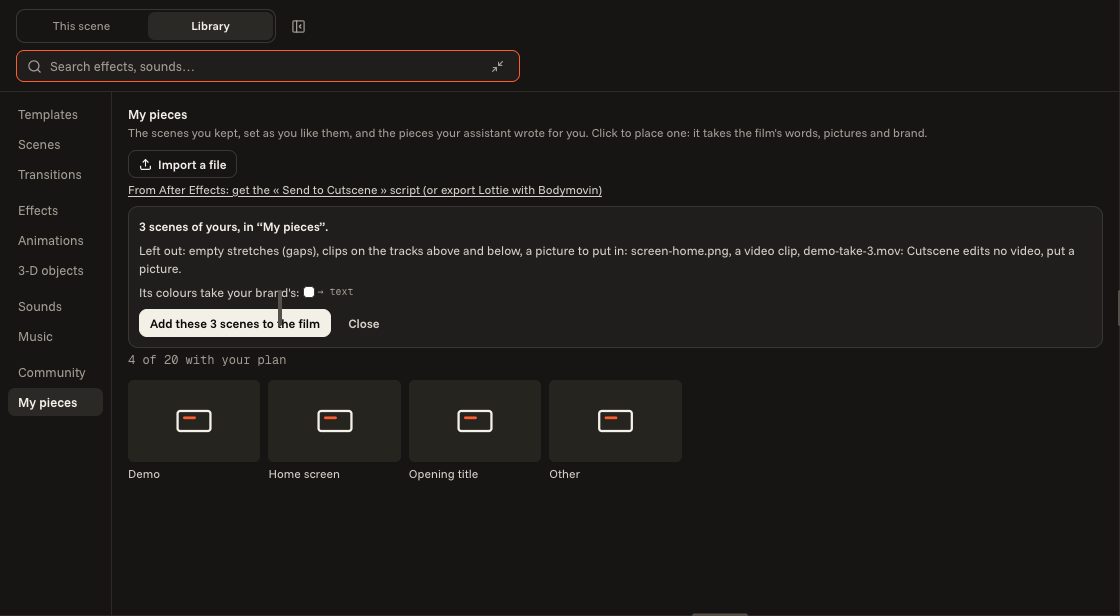
The answer shows which colour of the file takes which colour of your brand. Click “Add to the film”: the scene comes into the film. Its texts are settings you write, like those of any scene. To keep the file's own colours: on the right, in “The whole scene”, “More settings”, its Colours setting offers the file's own.
- 04
From After Effects
Two ways. Export your composition as Lottie with Bodymovin, or take our script: the link under “Import a file” downloads Send to Cutscene.jsx (it is also in every After Effects project Cutscene makes). Open a composition, File › Scripts › Run Script File…, choose the script: it writes a .cutscene-import.json file beside your project, which you import. A composition made of compositions in a row gives one scene each. Effects, expressions, cameras and lights are left out, and listed.
- 05
From DaVinci Resolve
Export the timeline as FCPXML (File › Export › Timeline…) or as OTIO, and import it: each clip becomes a scene of its length, a title a scene with its words, a still or a video a scene where you put a picture (Cutscene does not edit video), each transition the closest of ours. Fusion nodes saved as a .setting file become one animated scene: Text+, Transform, Background, Merge and Loader; any other tool is left out, and listed.
- 06
Ask the assistant
Only you have the file: the assistant opens “My pieces”, where you import it. Claude or ChatGPT connected to your account imports a file you give it, with create_piece (Developers).
import this Lottie file